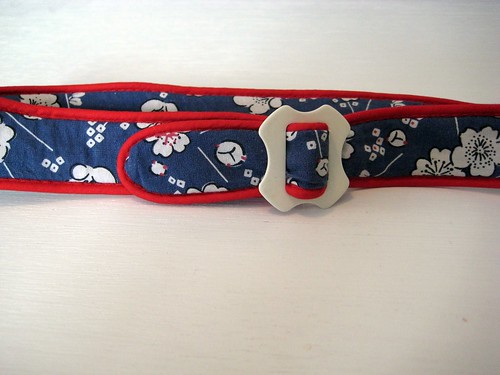
The belt was the last thing I did for the fellowship dress, and I was surprised at how quick and easy it was. My sewing projects tend to be epically complicated. I wasn't originally going to make a belt for it, but the pattern of the fabric was so overwhelming without something to break it up and define the waist. In all, it took about a half hour, most of that turning it right side out, to make a really cute belt.
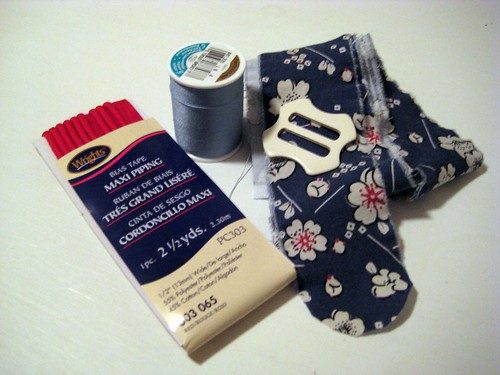
The belt buckle I wanted to use defined a lot of the measurements. This one is a vintage buckle I found at a thrift store in Overcast City that specializes in fabric, yarn, patterns, and notions, and its opening is 1 inch wide. I cut two strips of fabric 1 1/4 inch wide (since the piping would take up so much space) and my waist measurement + 4 inches for the buckle attachment, ease, and to have a little decorative bit stick out past the buckle. I also ended up using nearly the whole 2 1/2 yard packet of piping for a 33 inch belt, so check your measurements to be sure you'll have enough piping or bias tape to do the whole belt.
Besides turning it inside out when finished, pinning took the longest because I rounded the end of the belt and the piping didn't want to turn neatly. Clipping the piping fabric near the curve helped a lot.
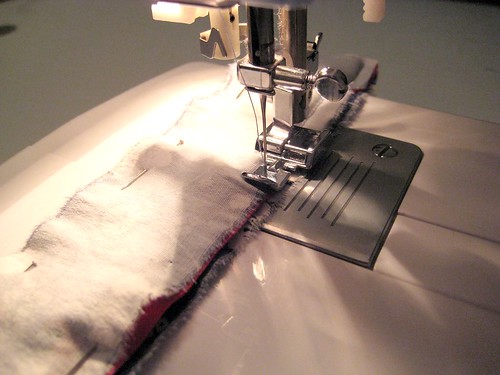
In sewing, using a zipper foot instead of a regular presser foot made things so much easier. My upper fabric had a tendency to pucker, I think because it was being pulled over the bulk of the piping, but the lower fabric didn't pucker, so that became the outside fabric. If I was doing a wider belt, I think I would interface it to keep it from collapsing on itself.
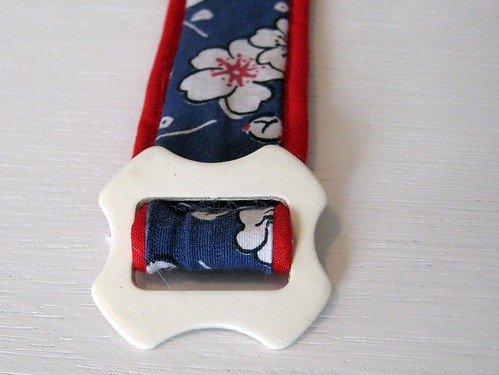
After turning it right side out (which took forever because it was so narrow and the piping increased the bulk of the seams), I clipped the end a little narrower than width of the belt and hand sewed it down. Fin!
No comments:
Post a Comment